

Ever wondered how to make a nice, fresh loaf of soft, white bread? While a bread recipe isn’t exactly hunting-related, and doesn’t contain a secret wild game ingredient, learning how to make bread from scratch is a tradition that, like hunting, has largely been lost in recent years as society becomes more detached from their food.
For years I made bread using a bread machine and it was so easy to do that I never bothered to learn how to do it the old fashioned way. When my bread machine broke, the bread making stopped. Long story short, after seeing a super simple recipe by Laura from The Kiwi Country Girl I decided to give it another go. And it was so bloody easy to make bread myself. Like hunting, there is a lot of satisfaction that comes from getting back to basics and learning these skills for yourself.
While this recipe might not have any wild game in its ingredients list, a nice hot loaf of bread fresh out of the oven sure does go well with wild game. We have been using fresh bread with a number of our venison and kangaroo recipes. It is great for soaking up the sauce of a slow cooked rendang curry, or served with some delicious buttery pan fried heart or as a fresh sandwich with some thinly sliced medium rare sous vide venison. We have also used a very similar recipe to make delicious pulled BBQ venison sliders.
This bread recipe has been written to help someone who has never made a loaf of bread before so it contains a lot of information that may seem basic or obvious if you have some experience baking and using yeast. Just skip through this stuff if you know what you’re doing 😉
You don’t need a fancy bread maker or special flour. Warm water, some yeast, plain flour, and oil are your basic ingredients and should be pretty easy to get your hands on if they aren’t already in your cupboard.
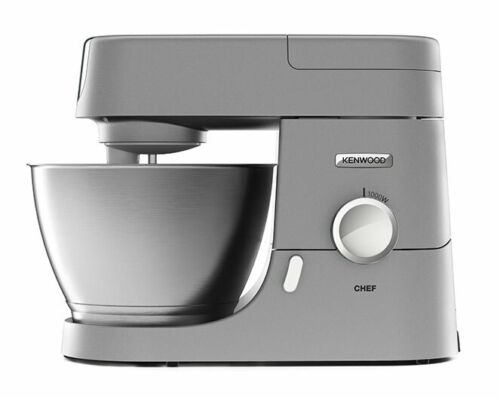
Having a stand mixer with a dough hook makes the process less hands on and speeds things up a little but it is not a necessity. You can get away making this recipe with a bowl, a wooden spoon and a bit of elbow grease.
Homemade White Bread
Ingredients:
350ml warm water
1 tbsp honey or white sugar
1 tbsp instant yeast
2 tsp salt
1 tbsp oil
4 cups plain flour
Method:
Okay this first part is probably the ‘hardest’ or the part that most people struggle with. Whisk warm water (see notes below about how to get the correct water temp), yeast and sugar (or honey) in a mixing bowl. If you’re using a stand mixer, mix these straight into the bowl. Let stand for 5-10 mins. You should see a foam starting to form on the top of the mixture. Think of a foam that looks similar to the head on a good beer from the tap. This is how to know that your yeast has activated and your water was the right temperature (see notes below for troubleshooting if you didn’t get this result).
If you don’t get a nice foamy ‘head’ on your yeast mixture, this is when you want to throw it out and try again. The chances are that if your yeast hasn’t activated at this stage, you are going to end up with a very dense loaf of bread. By cutting your losses at this stage, you’ve only wasted a bit of water, yeast and honey. Have a look at the notes below to see what you might need to do differently to get your yeast working for you.
Add the salt, oil and 2 cups of the plain flour. Using either a stand mixer with a dough hook on low speed or a wooden spoon, mix until combined. Add remaining 2 cups of flour. If using a stand mixer, leave it to knead the dough on a low speed for 8-10 mins. If kneading by hand, tip the mixture onto a lightly floured bench and start kneading. You’ll have to work the dough a little longer if doing it by hand (approx. 10-15 mins).
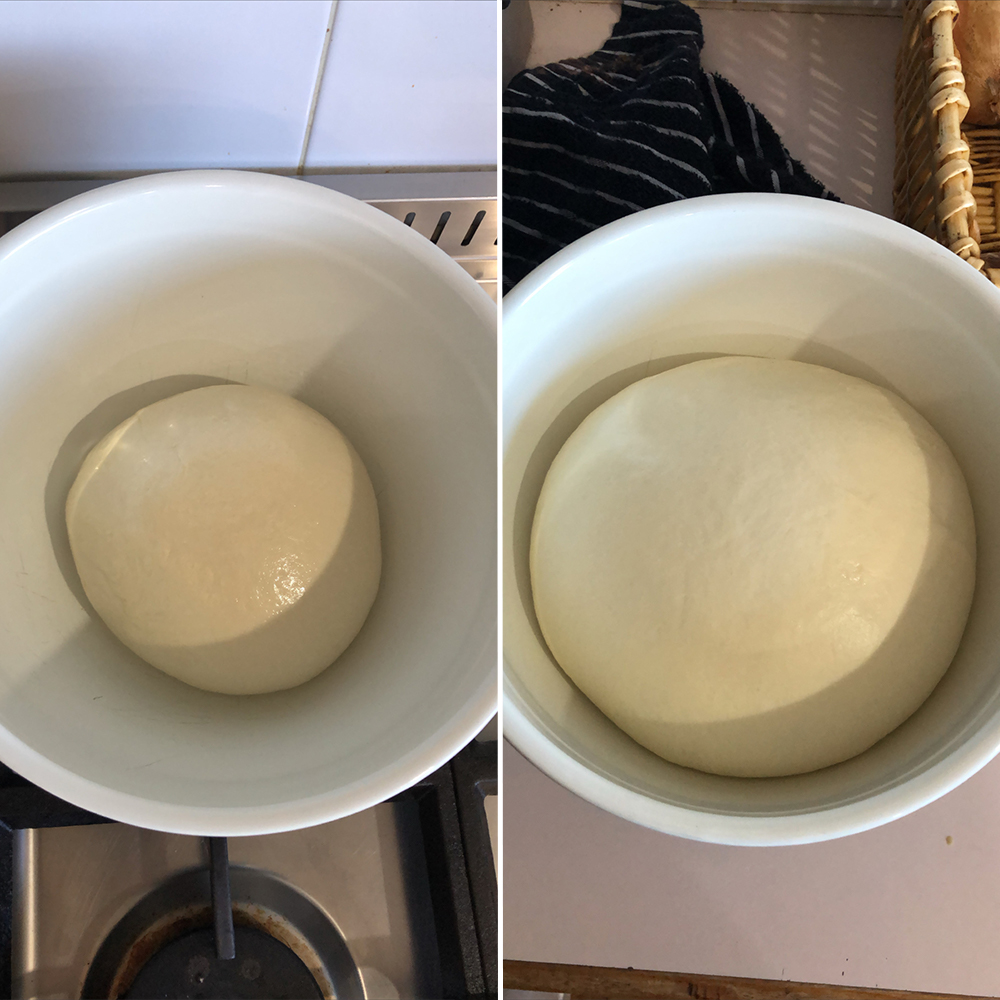 Once you’ve finished kneading, shape your dough into a smooth ball. Put about half a tablespoon (a little splash) of oil in the mixing bowl and place your dough ball back in the bowl. Toss it around so that it’s covered in the oil. Cover with a tea towel and leave to rise in a warm spot (on top of an oven, coffee machine, microwave, the cupboard where your hot water cylinder is) until doubled in size. Depending on how warm your warm spot is, it should take approx. an hour to double in size. Just keep an eye on it though as it may take more or less time. You can take a picture of the dough ball in the bowl at the start to compare if you’re not sure how to know when it has doubled.
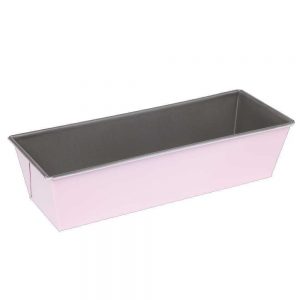
After this first rise and once the dough has doubled, using your fist lightly punch the air out of the centre of the dough. It should quickly deflate. Tip the dough out onto a clean bench and start shaping it to fit your loaf tin. I roll it into a log shape then fold the ends in so that it is the same length and width as the tin I’m using. This recipe will make one larger loaf of bread and the two tins I normally use are either a 23 x 13 x 6.5cm tin (makes a wider loaf) or a 30 x 7 x 7cm tin (for a taller loaf).
 Lightly grease your loaf tin with some soft butter or cooking spray then place your dough into it. Leave in a warm spot to rise until doubled in size for a second time (approx. 45-50 mins). Preheat your oven to 190C now.
Once doubled again (it should be about 1.5-2 inches higher than the sides of the loaf tin), you can place into the hot oven. I also put a small oven proof dish (like a ramekin) filled with half a cup of cold water on the bottom tray in the oven while the bread cooks. This stops the bread from forming a crust too quickly allowing it to continue rising for a bit longer while cooking. This will give you a lighter, more airy bread rather than a dense, cakey texture. Bake the bread for 25 mins then remove from the oven and glaze before returning to the oven for another 10-15 mins. You can use a few different things to glaze a loaf of bread:
Egg white and cold water – mix 1 egg white and 1 tbsp cold water then brush over the top of the loaf. This will leave you with a lightly browned, shiny crust on your loaf of bread. Using the whole egg will give a darker brown crust.
Butter – brush melted butter over the top of the loaf. This will give a soft, velvety crust.
Oil – lightly brush top of loaf. Oil will leave the crust soft and chewy.
Flour – dust your loaf with flour before baking for a crunchy, rustic crust.
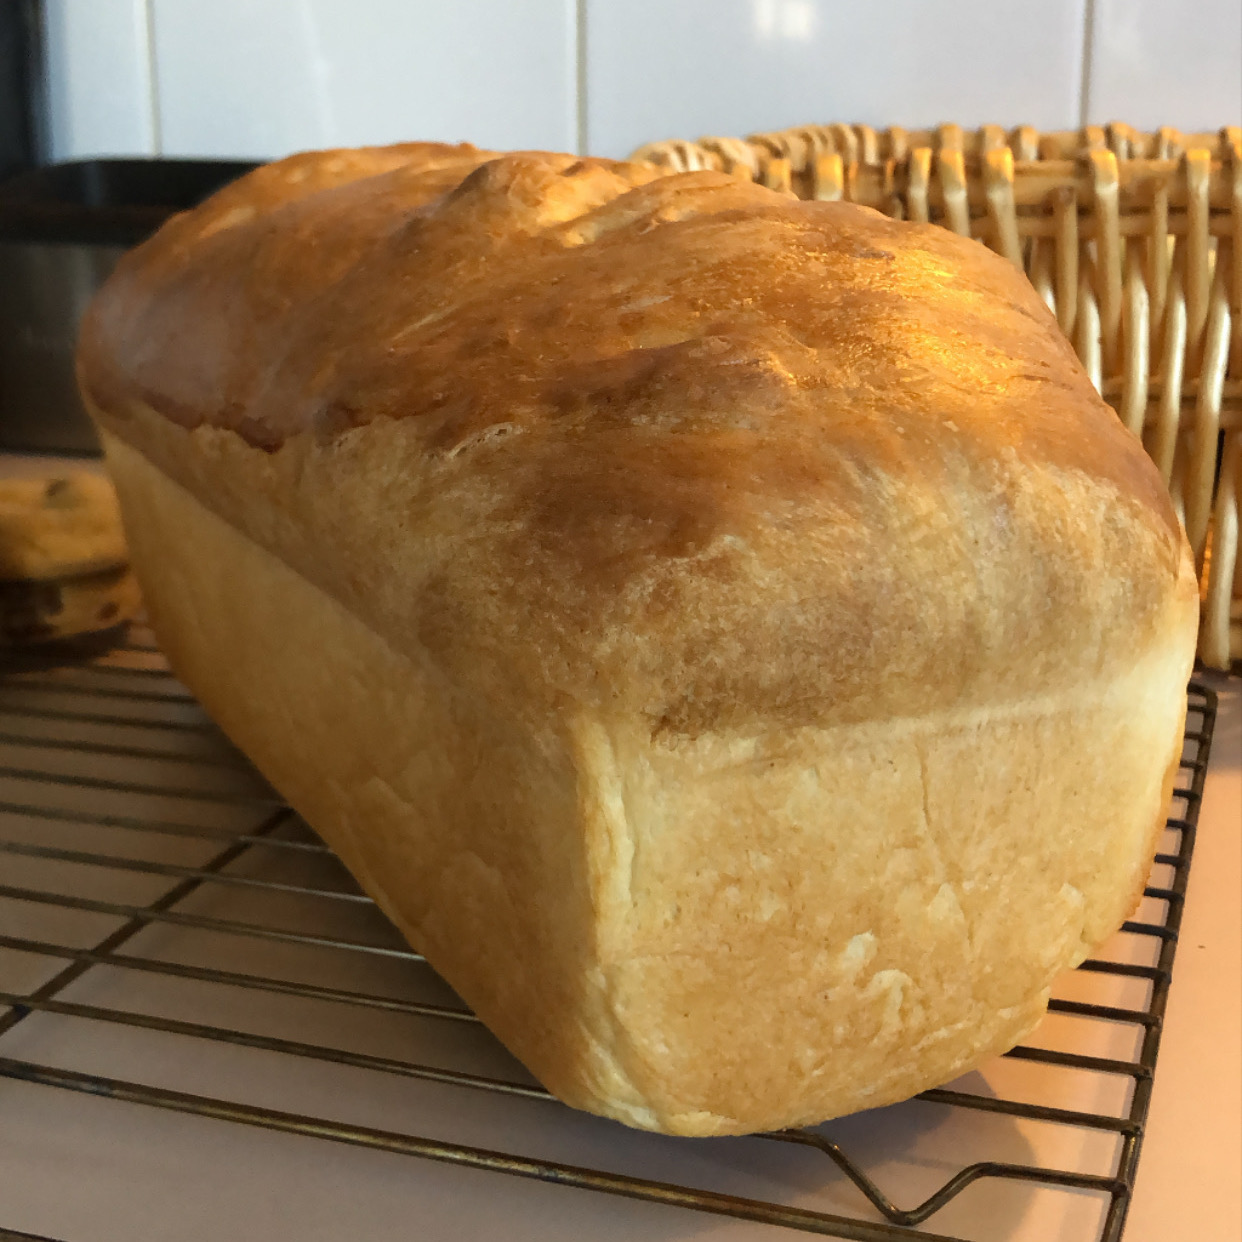 Once glazed, return the loaf to the oven for another 10-15 mins to finish cooking. Take it out of the oven then remove from the loaf tin immediately and place on a wire rack to cool completely. This will stop it from sweating as it cools and leaving you with a soggy bread crust. The experts say you should let a loaf of bread cool to room temperature before slicing to allow the crust to finish cooking. My family are normally pretty impatient when they smell a fresh loaf of bread so that rarely happens in this house.
There you have it – your own loaf of fresh bread no bakery, bread machine or fancy skills needed. Remember that the absolute worst you can do is ruin a bit of flour, water and yeast. Give it a go, see how it works for you and have a play around to get the best results for your preferences.
Trouble shooting with yeast
Ok, so if you’re having trouble getting your yeast mixture to give you that nice foamy beer-looking head, there are a few things you can tweak that might fix the problem.
The very first thing you want to check is the use by date on your yeast. It will go ‘stale’ and once it has you won’t be able to get it to rise no matter what you do. Just throw it out and get yourself a new batch of yeast the next time you’re at the grocery store. Storing your yeast in the fridge or freezer will help it to last longer.
The next thing that might be giving you grief is your water temp. Your water should be warm to the touch but not hot enough to burn your finger. Think slightly warmer than a good shower and cooler than a hot cup of tea. We have gas hot water and I set the temperature to 48C then let the tap run for a minute or two to make sure it’s coming out around that temperature. Don’t stress too much if you don’t have gas hot water or a liquid thermometer. The yeast will tell you if the water was the wrong temperature.
If it takes a lot longer than 10 mins to get foamy, your water might have been a little too cold. If it doesn’t foam at all, your water was either much too cold to activate the yeast at all or too hot and so killed the yeast. Have a play around to get the right temperature. I find using slightly warmer water is better than using water that isn’t warm enough, especially here in Tasmania where the room temp for most of the year is pretty chilly.


4 thoughts on “How to make a loaf of bread from scratch”